
I always make the first row of the blanket and border and crochet the strips together....I do this because I don't like to make the 80 required squares for this blanket and then try to place them in an order that suits. I then look at what colours are needed as I go....I find you need even distribution of light and shade...I find that I can't really go more than 4 squares without some form of green...I find green is a good joining colour, as it suits most other colours....strip after strip crocheted together.
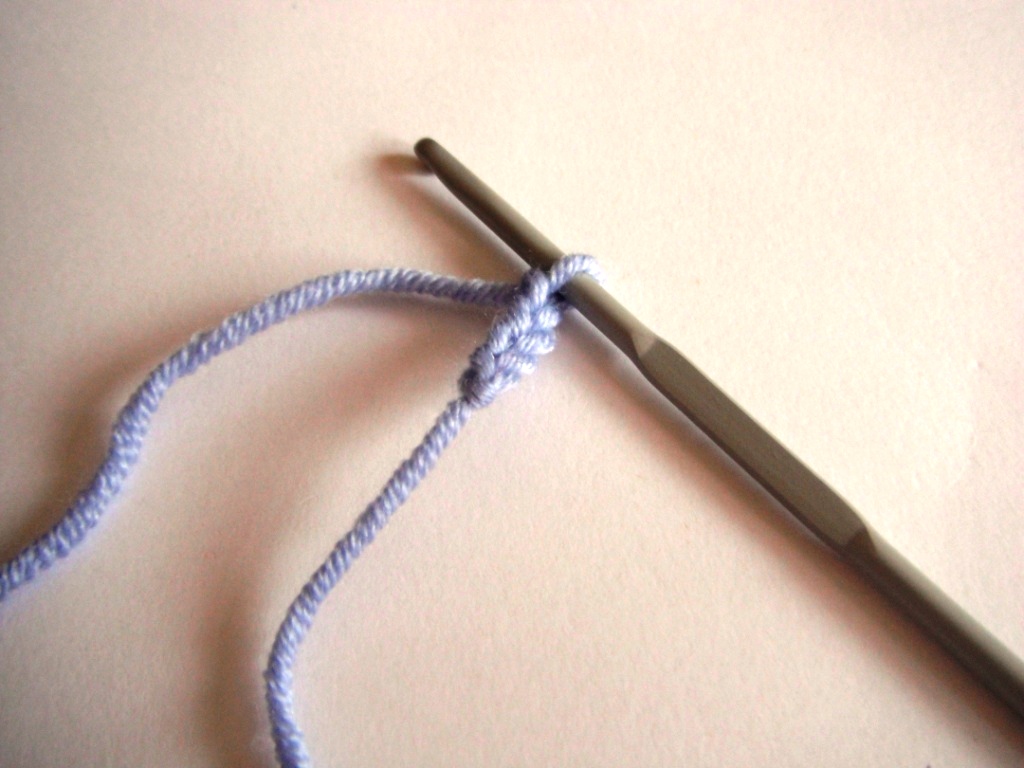
Making a circle.


I made the first row of the blanket, then decided to border with the bright turquoise blue...navy blue was the other option and both looked equally as good....in the end I thought turquoise was more of a neutral blue.

I do my best to sew in all the ends as I go....there really is nothing worse than having 1000's of ends to finish of at the end of the job...and I've been there done that and never again. Sew as you go!!


I normally would do a row a weekend...and as you can see I like to lay it out so I can see what colour/s are going to come next...it's a very visual thing with me. I do get asked a lot how I match colours, but I take me lead from nature....I do make mistakes, but I tend to know if I have, visually it just doesn't fit....there are a few borderline circles in this blanket, but I gave them the benefit of the doubt....and you can often make them fit, by placing a matching colour in the circle next door.


Sewing in the last of the ends last night...crocheting all the squares together creates an amazing amount of ends as well.

Border done, now looking at the blanket it's all puckered and quite tight....this is where we block.


I lay the blanket on a towel on the floor.....you need 100's of pins....I pull the blanket taught and start pinning the blanket to the floor every 2cm....I also have a tape measure handy so I can measure the width and length so it's all equal and square once pinned taught. Once this is done, spray it with water until it's wet to the touch....and leave till air dry, usually 24 hours...as I had the heater on the blanket dried quite quickly. Blocking relaxes all the fibres of the yarn, it then stays into the shape that you've pinned it and it gives your work a professional finish. Once dry I always give my work a shave with a lint shave.

Ta Dah............


I was going to put a picot edging on the blanket....I did start it but it just didn't look right....I think because there was so much busy colour in the blanket it didn't need any more fussiness around the edge...the old less is more. If in doubt take it out!!
Anyway it's up for sale in my Etsy store. I'm sure it will go to a good home.
Now which blanket shall I move onto now.
Beautiful! Thanks so much for the tutorial - now I just have to learn to crochet!
ReplyDeleteThanks Sally...I was going to make it a proper tutorial but I just don't have the time....I might try that later in the week.
ReplyDeleteI just saw this blanket on madeit and its gorgeous!!! Your work always is, Im in love with these colours! :)
ReplyDeleteLee-Anne